
How to Use a Jigger Accurately for Consistent Home Cocktails
A home cocktail can change noticeably when a small measure of vermouth, citrus, syrup, or liqueur is poured inconsistently. The usual problem is not a…
- The usual problem is not a lack of equipment.
- It is a measuring station that encourages guesswork: an unreadable jigger, bottles scattered across the counter, a shaker held in one hand, and no clear place to set a wet tool.
- The goal is a simple home-bar system in which every measure can be filled, checked, transferred, and reset without rushing.
- You can build that system with one suitable jigger, one stable work area, and a repeatable sequence.
- It works for a permanent drinks cabinet, a small kitchen shelf, or a temporary station assembled only when you make cocktails.
A home cocktail can change noticeably when a small measure of vermouth, citrus, syrup, or liqueur is poured inconsistently. The usual problem is not a lack of equipment. It is a measuring station that encourages guesswork: an unreadable jigger, bottles scattered across the counter, a shaker held in one hand, and no clear place to set a wet tool.
The goal is a simple home-bar system in which every measure can be filled, checked, transferred, and reset without rushing. You can build that system with one suitable jigger, one stable work area, and a repeatable sequence. It works for a permanent drinks cabinet, a small kitchen shelf, or a temporary station assembled only when you make cocktails.
Map the measuring station before choosing equipment
Your jigger is only one component in the measuring loop. A workable station has four small zones:
- Bottle zone: the spirits, modifiers, citrus, and syrups required for the drinks you are making.
- Measuring zone: a dry, level patch of counter where the jigger can be placed and its markings seen clearly.
- Build zone: the shaker tin, mixing glass, or serving glass receiving each measured ingredient.
- Reset zone: a folded towel or washable mat where the used jigger can rest between pours.
Arrange these zones in the order you use them. If you are right-handed, bottles may be easiest on the left, with the jigger and mixing vessel near the centre and the towel to the right; reverse the layout if that feels more natural. What matters is that you do not have to reach across open bottles or carry a brim-full jigger over a cluttered counter.
For a temporary station, a tray or small bar mat can define the working area and catch drips. Store the clean, dry jigger with other frequently used tools rather than loose among heavy bottles. Avoid leaving liquid pooled inside nested measuring cups, and follow the maker's care instructions if the jigger has painted or printed markings.
Prioritize readability, useful measures, and control
If you already own a jigger with clear markings and a stable shape, start there. A new tool will not correct an inconsistent technique. If you do need one, compare it using practical criteria rather than brand claims.
- Readable graduations come first. Look for markings you can identify under ordinary kitchen lighting. Stamped or etched lines may remain easier to use than faint decoration, although durability depends on construction and care.
- Choose measures that match your recipes. US recipes commonly use fluid ounces and fractions such as 1/4, 1/2, 3/4, 1, 1 1/2, and 2 ounces. UK recipes often use millilitres, including 10, 15, 20, 25, 30, 40, and 50 ml. These systems do not convert into perfectly neat equivalents: 1 US fluid ounce is about 29.6 ml. Choose one system for a drink and follow it consistently instead of switching between rounded conversions halfway through.
- Use the right capacity. A larger side holding roughly 1 1/2 to 2 ounces, or 45 to 60 ml, covers many base-spirit pours. A smaller side with useful intermediate lines handles vermouth, liqueurs, syrups, and citrus.
- Check stability and handling. A broad enough base, a shape that does not tip easily, and a comfortable centre give beginners more control. Tall, narrow jiggers can be quick to empty but may be harder to read or fill steadily when set down.
- Prefer a clean transfer. The lip should let liquid leave without running down the outside. This is best judged from the shape and return policy rather than unsupported promises of perfect pouring.
A double-sided jigger is compact and fast, but its rim may define the full measure. A measuring-cup-style jigger usually offers more internal graduations and room above the highest line, which can reduce overflow. Neither format is inherently more accurate; the clearer one for your eyes and recipes is the better choice.
Use one repeatable measuring workflow
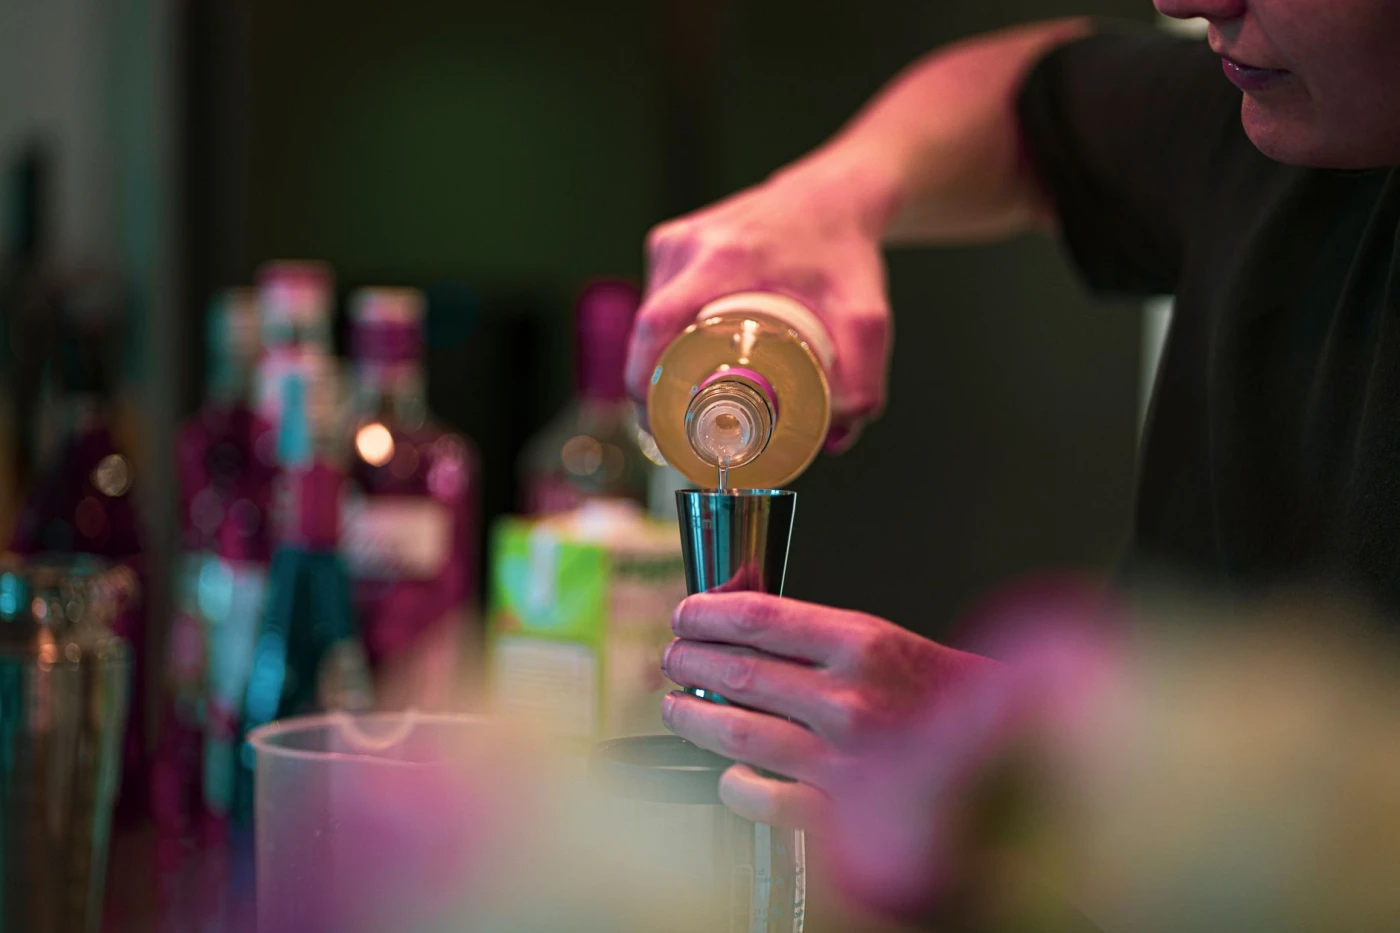
- Read the complete drink specification first. Decide whether you are working in ounces or millilitres, identify every required measure, and place only the needed bottles in the bottle zone.
- Set the receiving vessel down. Put the shaker, mixing glass, or serving glass on a stable surface. Holding both it and the jigger in mid-air adds unnecessary movement.
- Select the correct side or line before opening the bottle. Confirm whether the intended volume is an internal mark or the full capacity at the rim. Do not assume every visible line represents the same increment.
- Place the jigger on the counter for the most controlled fill. Pour slowly as the liquid approaches the target. For an internal graduation, lower your eyes to the level of the mark; looking down from above can make the level appear misleading.
- Stop at the defined measure. For a marked line, align the liquid level consistently with that line. For a brim-defined cup, fill to the rim without deliberately building a bulging dome above it. Surface tension can hold extra liquid, but that extra is difficult to reproduce.
- Transfer immediately and completely. Lift the jigger smoothly, move it the short distance to the receiving vessel, and tip it decisively. Allow thick syrup or liqueur an extra moment to drain. Do not shake droplets across the counter.
- Return the jigger to the reset zone. Rinse or wipe it when residue could affect the next ingredient. A small trace of syrup can cling to the tool and interfere with a later measure.
Hand-held measuring can become reliable with practice, but setting the jigger down makes the liquid level easier to see and reduces spills. It is the better default for home bartenders who value repeatability over speed.
Measure in an order that supports the whole drink
Measurement order is part of the system. One useful approach is to begin with less expensive non-alcoholic ingredients, then add modifiers, and pour the base spirit last. If you discover spoiled citrus or make a measuring error early, less costly liquid may be lost. This is a workflow preference, not a universal rule; some people prefer to pour in recipe order to make omissions easier to spot.
For a vodka sour-style build, for example, you might measure citrus, syrup, a liqueur if used, and vodka in a consistent sequence. For a vodka Martini-style drink, measuring the vermouth precisely is particularly useful because a small change can shift the balance relative to the larger vodka measure. These are applications of the system, not substitute recipes: use the quantities and method specified by the drink you have chosen.
When making two servings, measure each ingredient deliberately rather than estimating the second pour from bottle flow. If the shaker or mixing glass safely accommodates the batch, combine calculated quantities only after checking the arithmetic. Avoid filling a small jigger multiple times while mentally tracking a large total if a missed count would be easy.
Calibrate your setup when consistency still drifts
Jiggers are everyday bar tools, not laboratory glassware. If the same drink keeps changing, isolate the measuring process before changing the recipe.
Fill the jigger to a selected mark with water using your normal technique, then transfer that water to a kitchen scale capable of displaying grams. At typical room temperature, 1 ml of water weighs approximately 1 gram, which makes this a practical home check rather than a formal calibration. Repeat the fill three times. Results that vary from pour to pour point mainly to technique, visibility, incomplete draining, or spillage. Results that cluster together but differ from the expected volume may indicate an unclear line, a capacity assumption, or limited tool accuracy.
The aim is not decimal-place precision. It is to identify a repeatable fill level and transfer. Once you find it, use the same jigger, eye position, and draining habit whenever you reproduce that drink.
Adapt the system to your budget and space
For a minimal budget: use one clearly marked jigger, a folded kitchen towel, and the counter space beside your shaker or mixing glass. Spend nothing else until the markings or capacities genuinely limit the drinks you make.
For a narrow counter: keep bottles behind the measuring point rather than around it, use a compact tray as the station boundary, and return unrelated bottles to storage. A clear path of only a few inches between jigger and vessel is more useful than a large display.
For a shared kitchen: store the clean jigger, bar spoon, strainer, and towel together in a small removable container. The entire station can then be assembled and cleared without tools migrating between drawers.
For an upgrade: add a second jigger only when it solves a defined problem—for example, your current model lacks the 1/4-ounce or 10 ml measures used regularly, its marks are difficult to see, or its capacity requires too many repeated fills. Complementary markings are more useful than two attractive tools that duplicate each other.
What to skip
- Skip free-pouring as your default. Counting while pouring depends on the bottle, pour spout, liquid, angle, and practiced flow rate. It is not a direct replacement for a marked measure in a small home setup.
- Skip markings you cannot read. A fashionable finish offers little value if low contrast forces you to guess.
- Skip automatic conversions between 1 ounce and 30 ml in the middle of a drink. The approximation is often workable, but mixing rounded systems can create avoidable inconsistency. Follow one version of the specification.
- Skip the surface-tension dome. Filling above a rim because the liquid can balance there adds an uncertain amount and increases the chance of spilling.
- Skip measuring over an open shaker. If the jigger overflows, the excess enters the drink and cannot be removed accurately. Fill over the measuring zone, then transfer.
- Skip a large tool collection without a workflow. One readable jigger in a clear station will usually outperform several scattered measures.
A dependable home-bar plan is therefore small: one jigger whose markings match your recipes, four compact working zones, and the same fill-check-transfer-reset sequence for every ingredient. Once that process becomes automatic, adjustments to a cocktail reflect deliberate taste choices rather than accidental changes in the pour.
Ask AI about this article
Pick a prompt, copy it, or open ChatGPT with this article preloaded.
Comments 0
Login to Post comments